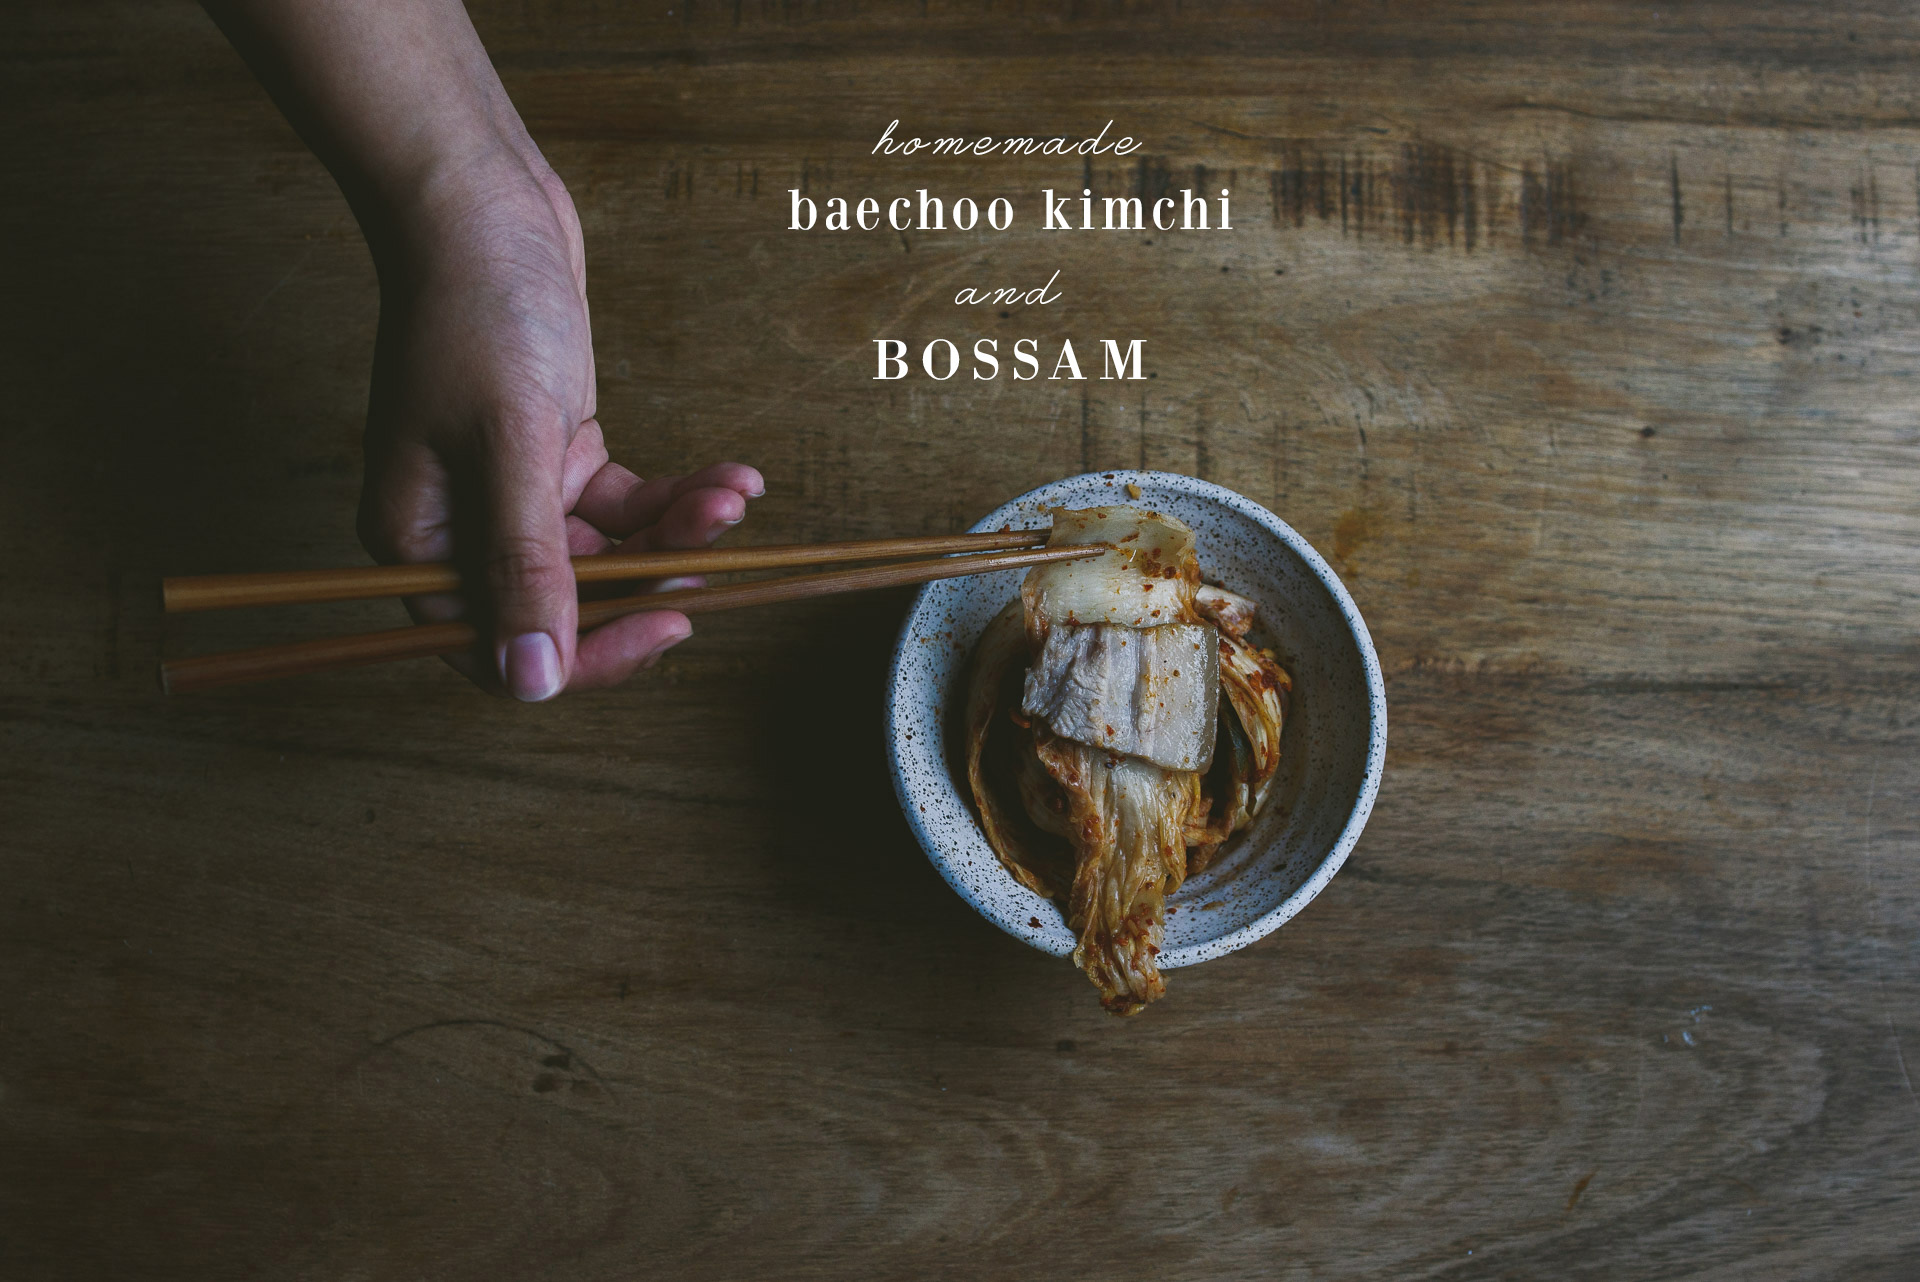
 Imagine going to a friend for tips on making kimchi, and not only does she go above and beyond, giving me advice directly from her mom, but she also describes another dish, home-style: you make boiled pork belly with minimal flavoring, so that the pork flavor is uncompromised. You boil it until it is super tender and will melt in your mouth. Take a thin slice of it and wrap it in a whole leaf of kimchi. Put the whole thing in your mouth. The sour, tang, and spice of the cocooning kimchi will seep into the pliable pork belly and the textures of almost crunchy kimchi and soft pork belly will meld together in a perfect marriage of senses. Of course, I paraphrased and embellished because I do not have photographic memory, and I did not write down her word-by-word quote, but essentially she described an amazing one mouthful experience that I could not NOT try. I’ve been really excited and bursting with eagerness to blog about this. It’s my first fermentation experience and I’m officially obsessed.
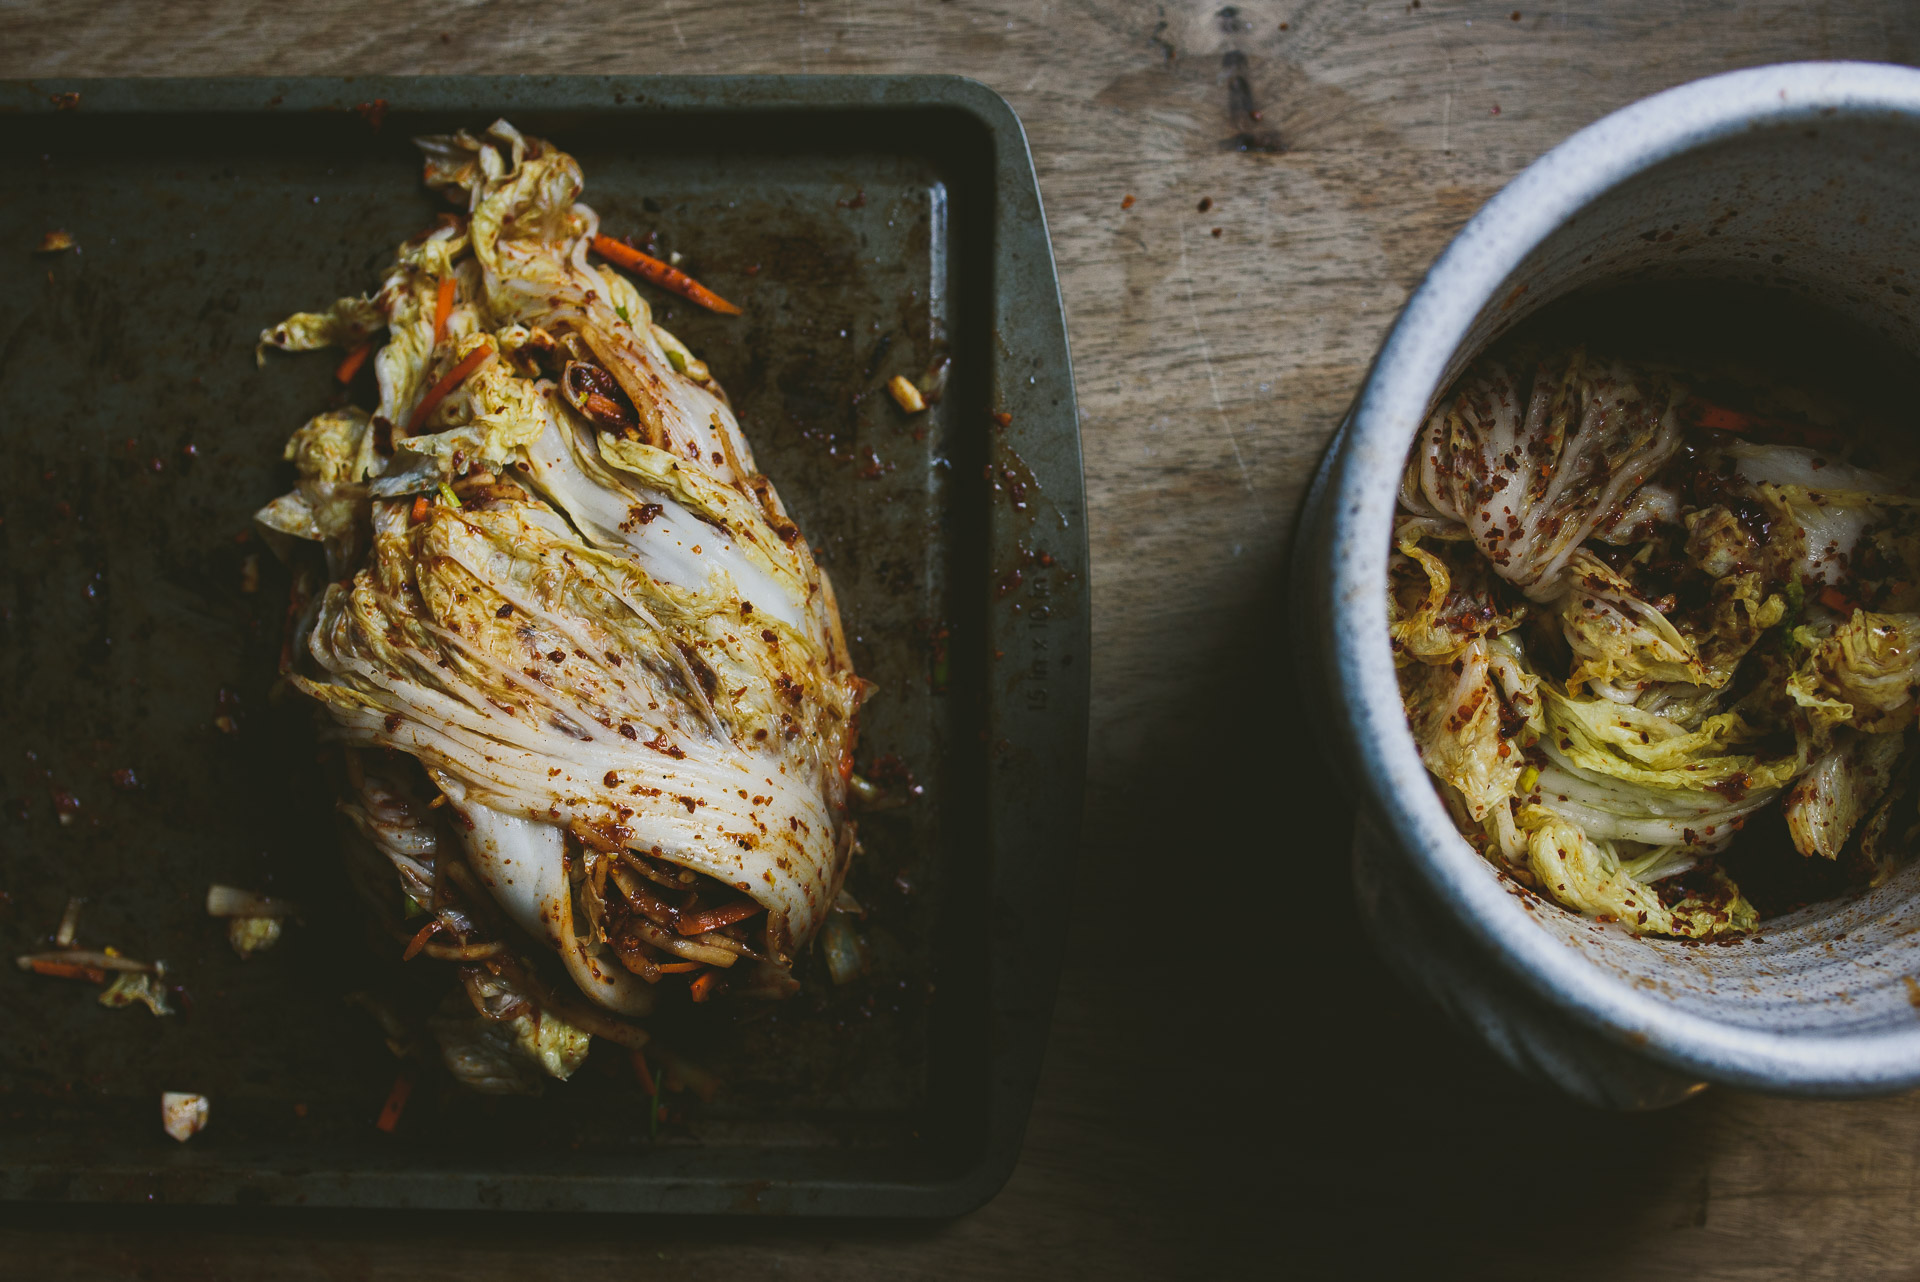 The photo above is what the napa cabbage looks like before fermentation but after the overnight brine. The leaves will be flexible so that you can stuff radishes/carrots/scallions between the leaves. This is a very photo-heavy post, because I’m going to show you the step-by-step for not only the brining process, which some say is the hardest part of making kimchi, but also the yangnyum sauce, stuffing the kimchi, and using it to make bossam. All step-by-step, and by the advice of my two amazing friends from Korea, Bomin and Matt.
 I’m not going to pretend to be a kimchi expert, because I’m not. My parents are from Shanghai so I have no family tradition of burying kimchi and fermenting it for ages, but I think kimchi is personal. Kimchi is unique to every family and is flexible enough that you can develop your own way to do it. Some families use fermented anchovies, others use fermented shrimp, or some just use fish sauce. Some bury it for months. Some make the sour kind and just ferment at home. Kimchi is personal. I came up with this with a lot of help from my friend Bomin and learned more about different types of kimchi from Matt. They were both dear friends from college, and we were all architecture students. We were in the same studio, sitting next to each other, so you can imagine all the late-night sleep deprived chats we’ve had. Oh, the memories.
  Alex actually recoiled when I told him I was making kimchi. He went so far as to suggest buying a whole new mini fridge just to store my kimchi, due to the smell. Too bad, dear husband. I promised to make saukeraut (paired with bratwurst) as a future fermenting project to ease his mind. A compromise, so to speak. I met Jeremy Ogusky of Boston Potter a couple of weeks ago. His studio is charming, his dog absolutely delightful, and his work – it’s unspeakably gorgeous. You might have seen some of his work on instagram already, because I was too excited to use it before I left for my trip. Along with those bowls, I took home a beautiful fermenting crock. I’d read about the fermentation movement in the Winter issue of Edible Boston, and I was intrigued. After speaking with Jeremy, though, I knew what my next project was.I made baechoo kimchi, which is whole cabbage kimchi. Specifically napa cabbage. When you ferment whole cabbage, you can stuff everything else between the leaves in a neat little package. When you’re done fermenting, just pull the whole thing out! Pro tip: cut in half until about 1-2 inches from the bottom. Then just RIP. It helps keep the leaves intact in each half.The first step is to sprinkle cabbage with salt, between leaves. Massage until it begins to leak water and soften. Dissolve 1 cups salt into 8 cups water for a brine. Let cabbage halves soak for 30 minutes. Then, drain cabbage (while saving brine) and sprinkle salt between each leaf, concentrating on the thick part near the stem.It will end up loose, like this: Be careful of ripping the leaves while you separate it from the pack. Place back into brine and let soak overnight. The next morning: rinse cabbage 2-3 times under cold water and then place over a coriander to let drain for 1 hour.I added scallions because they are my favorite, and daikon and carrot, which from what I gather are common in kimchi as well. Unfortunately I couldn’t find minari (water dropwort) or fermented shrimp, so I took the advice of Kimchimari and just used fish sauce. For my mix, I originally wanted to add in sichuan peppers, which give a mouth-numbing component to a dish. I used 2 tbsp of ground up peppers, but honestly? It didn’t make a difference in taste. I couldn’t taste it in the resulting fermented kimchi. The gochugaru + natural sour aspect from fermentation overcame it. It’s still in the recipe, but it’s completely optional. I might increase the amount next time to see what it tastes like, or I’ll just stick to classic kimchi. Stuff carrot/daikon marinade in between the leaves of the kimchi, starting with the largest leaf and going inward. At the end, wrap the largest leaf around the rest of it to package the cabbage nicely. Place in fermentation crock and press lid down.Not sure if you can see it, but in the below photos, the one on the right is after only 15 minutes? The water level already began to rise. In less than an hour the brine will rise above the cabbages and the lid. At that point, place a tea towel over it to prevent dust from getting in. My kimchi fermented for 6 days out at room temperature, then was moved to the fridge for another 2 days. It was probably still too fresh. Don’t get me wrong – it was DELICIOUS. It was spicy and had that special sour flavor. I made bossam, kimchi fried rice, a soup, and a pie (I literally cannot wait to share this with you!). However, I do think it could’ve fermented some more. According to my friend, if it ferments more, it will take on more of the red coloring. You can taste it to see if it is ready. I tasted it at… 4 days I think. This is what I mean. You get close to kimchi. It becomes your little pet project. You prepare it and then leave it alone to do its thing. Then you can see if its ready. It’s your personal preference and you can do whatever the heck you want with it. And this leads us to BOSSAM! Bossam is boiled pork belly wrapped in ripe kimchi (mugeunji). Mugeunji is fermented for months or even years, and usually in a ceramic container underground, so that it is cooler. However, according to my friend Matt, usually sour kimchi is used to accompany bossam, especially when it is made at home. Sour kimchi is fermented for a shorter period. The secret to boiling these? Apparently, instant coffee. Bomin’s mom uses it, and it’s a well known fact. It takes away the super porkness of pork belly while leaving the desired pork belly flavor, if that makes sense. When it’s done and ready, simply slice it thinly (mine were too thick. Oops) and serve with whole leaves of kimchi!
Don’t forget to wrap it. This is important. It’s part of the bossam experience. Please wrap it in a whole leaf of kimchi and shove the entire thing in your mouth. The juxtaposition of crunchy cabbage and soft pork belly, the spicy sour and the pork flavor – it’s indescribable.
RECIPE: Baechoo Kimchi and Bososam
Baechoo kimchi
1 2lb head napa cabbage
1 cups sea salt in 8 cups water
More sea salt for sprinklingYangnyum sauce
1 tbsp grated garlic
1 tsp grated ginger
¾ cup water
1 tbsp sweet rice flour (mochiko)
2 tsp sugar
2/3 cup gochugaru
1 tbsp ground sichuan pepper (optional, I didn’t actually notice a difference, so you can up it or just leave it out)
2 cups daikon peeled and cut into thin matchsticks
2 cups carrots, cut into thin matchsticks
2 tbsp fish sauce
5 scallions, trimmed and chopped thinly to 1.5 inch pieces.
1|The night before, cut cabbage in half, and sprinkle cabbage with salt, between leaves. In a large bowl, massage salt into the cabbage. It will begin to leak water and soften. Dissolve 1 cups salt into 8 cups water for a brine. Let cabbage halves soak for 30 minutes. Then, drain cabbage (while saving brine) and sprinkle salt between each leaf, putting more salt near the stem. Place back into brine and let soak overnight.
2| Next morning: Rinse cabbage 2-3 times under cold water and then place over a coriander to let drain for 1 hour.|
3| Yangnyum: Whisk water and mochiko until smooth. Heat in a saucepan, stirring to prevent burning. Reduce heat to low and stir. In about 10 minutes, the mixture will thicken and become translucent. Add in sugar and cook for another minute. Set aside and cool.
4| Add gochugaru and sichuan pepper, garlic, ginger, to daikon and carrot, mix to coat diakon/carrot evenly. Mix in scallions. Add in fish sauce and stir to coat evenly. Be sure to use rubber gloves if you want to protect your hands from the chili paste! Taste-test this sauce it should taste pretty good, and stronger than what you want for your kimchi. As it ferments, the intensity will decrease.
5| Stuff carrot/daikon marinade in between the leaves of the kimchi, starting with the largest leaf and going inward. At the end, wrap the largest leaf around the rest of it to package the cabbage nicely. Place in fermentation crock and press lid down.
6| Pack it into your fermentation crock and press down. The brine should cover the vetables. Leave 1 inch of headspace. Seal with lid. I put a jar of water on the lid to weigh it down. Once the brine covers the kimchi, out a tea towel loosely over the crock to prevent dust from entering.
7| Let it ferment at room temperature for 1-5 days. At each day, you can check it and taste if it is ripe enough. Make sure to keep it submerged under the brine. When it is to your liking, transfer jar to the refrigerator. After that, you can eat it, but you can also let it ferment in the fridge for another week or two!
Bossam
2 thick slabs pork belly, boneless and skin on
1 tbsp soy paste (doenjang)
1 tbsp instant coffee
2 scallions, chopped roughly
1 head garlic, tips chopped off
2 fresh slices of ginger
1 tsp salt
water, enough to cover pork belly
1| Bring water and seasonings to a boil and simmer for 10 minutes. Add in pork belly and boil for 20 minutes, uncovered.
2| Reduce heat to medium low and simmer, covered until chopstick-tender, about another 45 minutes. Turn heat off and let sit.
3| To store: Keep it in the liquid and place in fridge. It will congeal. Scrape off the top white layer of fat and simply reheat in a pot. This keeps the pork belly moist (and you can use it for something else… like pie… recipe coming soon).
4| Assemble: EAT WITH WHOLE LEAF OF KIMCHI.
This is so so great! What an intense recipe! I love it, and I can’t wait to try it someday! Looks so delicious! xx
OMG you made kimchi?! What the heck, that’s awesome! Also, yes to being pork belly twins 4evr. And seriously, your photos are jaw dropping.
Those photos of the halved raw cabbage, beautiful! It looks like it’s blooming.
You’re amazing! I just watch my mum make a vat of kimchi every month! If you go to a Korean supermarket, they are over the brim with minari (especially since it’s a spring veg) and fermented shrimp. In Korea, it’s such a huge deal to get good fermented shrimp, so you go to this market which is ALL ABOUT KIMCHI, to find the best one! So much fun (although, I don’t think I appreciated it as a kid).
For Bossam, we’ve always boiled it with apples. It takes away the porkiness and makes it super soft. Ah, Bossam is so good with water kimchi!
I love this fermentation project!!!! (And the pictures!)
Thank you so much for this amazing tutorial! Making kimchi is something I’ve wanted to do for ages. Will definitely come back here when I finally build up the courage to do it 🙂 I want this entire package of homemade kimchi and boiled pork belly all together in my mouth right now! 🙁 <3
Betty, this is just fantastic. I’m loving the level of detail and attention you’re bringing to your longer posts. I really feel that I’m there in the kitchen with you, and you’re walking me through the recipe as we speak. I love it.
I am officially impressed with you, Betty!!!!!! Always been, though. This is one of my favorite ever dishes and although it’s “simple” in terms of presentation, it has a zen feel to it so I love it. I grew up eating bossam on special occasions and it brings back good memories; also wanted to say thank you for always showing Korean food so much love Betty. You’re so right too…kimchi is really a personal thing and some people love to brine it with sprite or soju even so who knows what the right way is?! Hah! Mah momma always said that using those tiny fermented shrimps (and I mean tinnnyyyy) “saewoo juht” is the best thing for full flavor and she makes the BEST kimchi in my opinion ;))))) But then again, this is so beautiful and perfectly executed I know it’s almost just as perfect <33 Too legit to quit, girl. Too legit.
Wow. This is unreal. I can’t believe you’re fermenting your own kimchi. I’ve always wanted to do that but I assumed it involved a burial. I love the way you described your friend’s description. I tend to do that sometimes with the wrong audience and I feel like I’ve revealed to someone that I’m in love inadvertently. I usually am when I describe a dish 😉 this is gorgeous. So impressive. It looks so delicious. Thanks for sharing.
just discovered your blog! beautiful work!! and this looks very relish.
x
Bettyyyyyyyy this is so gorgeous. I tried my hand at making kimchi earlier this year (and also used fish sauce!) but want to go back and redo with your expert guidance. These photos are everything.
I really like your photos! And everything looks delicious
You know how the stereotypical middle-aged man comes home from work, grabs a beer from the fridge, and relaxes on his recliner? Well replace beer with kimchi and that’s my post-work routine. This post (esp that first paragraph) makes me want to cry because it sounds/looks so good :”’)