Matcha Vertical Cake Roll
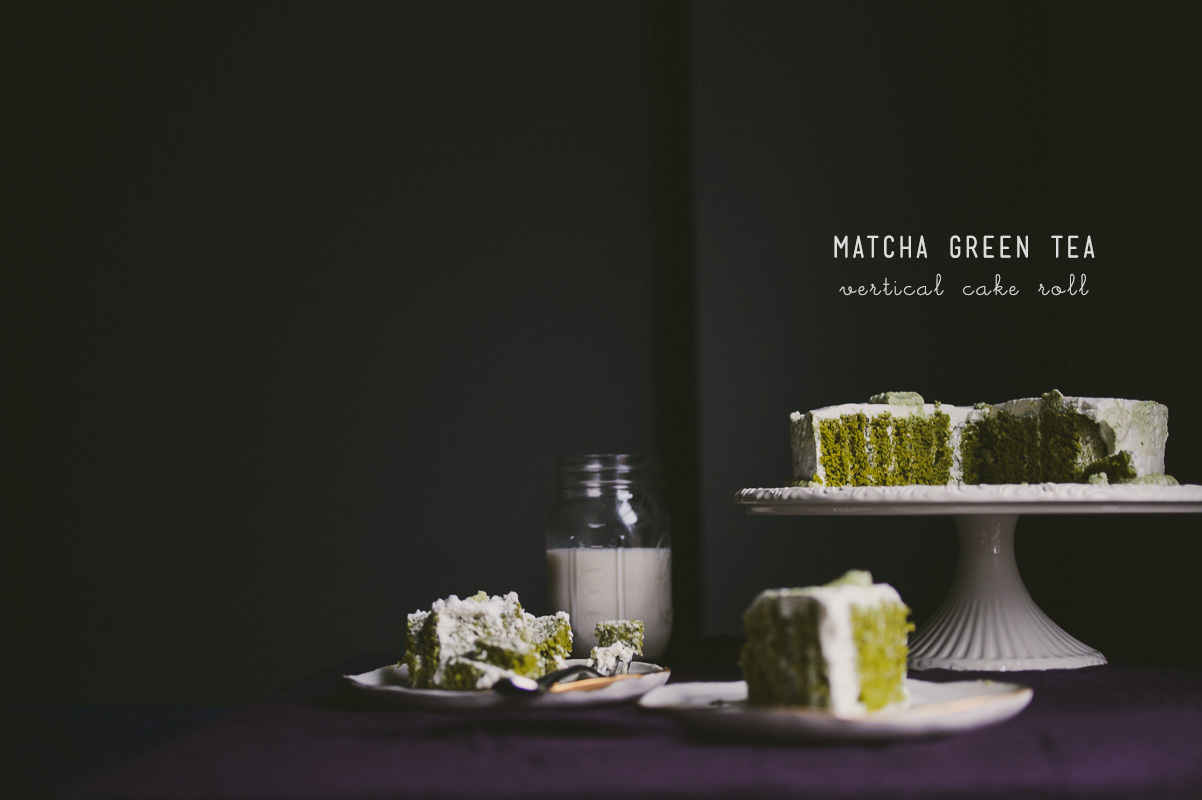
We’ve all had swiss rolls before – pumpkin rolls, strawberry cake rolls, and my favorite, matcha cake rolls. Now, I’m not cake decorator or even baker – I admit it: I’m terrified of making cakes. Crumb coats, frosting, just baking the cake right… there’s a million steps to perfecting layer cakes. On my wish list is this book by Linda Lomelino, because who can resist good photography, pretty cakes, and instructions on how to bake a cake?
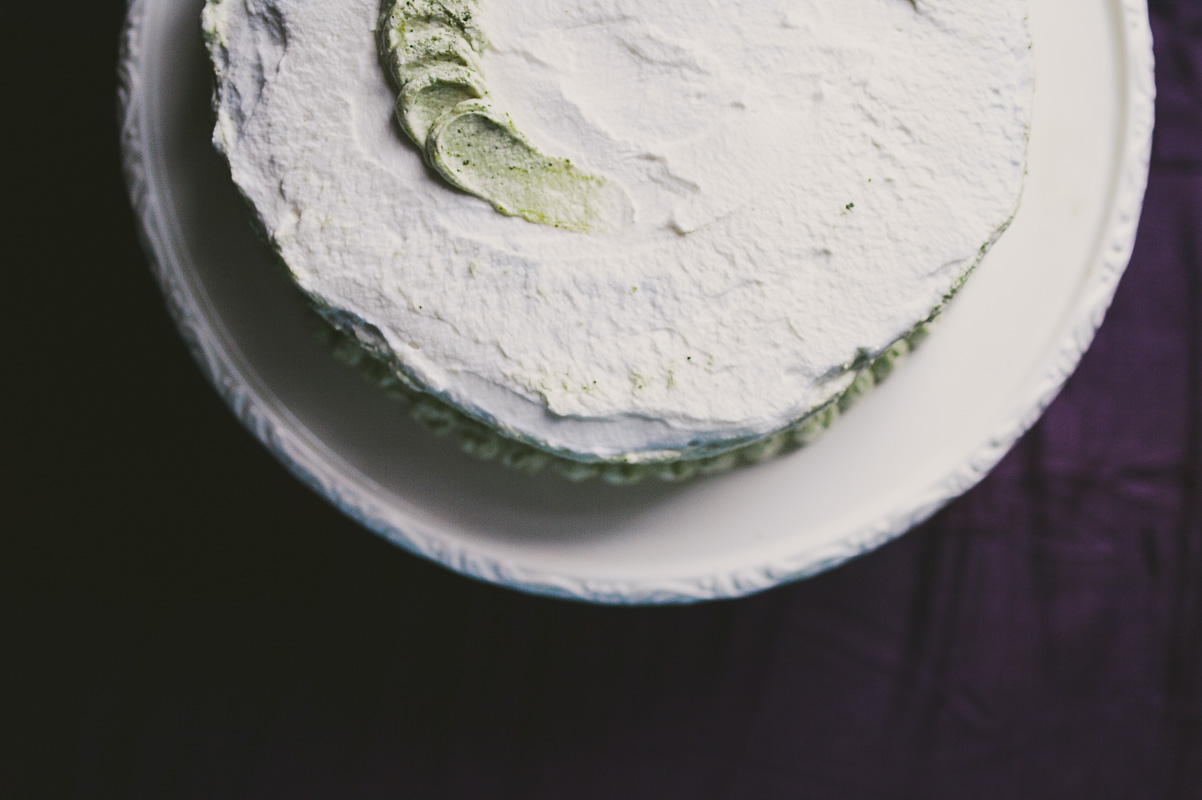
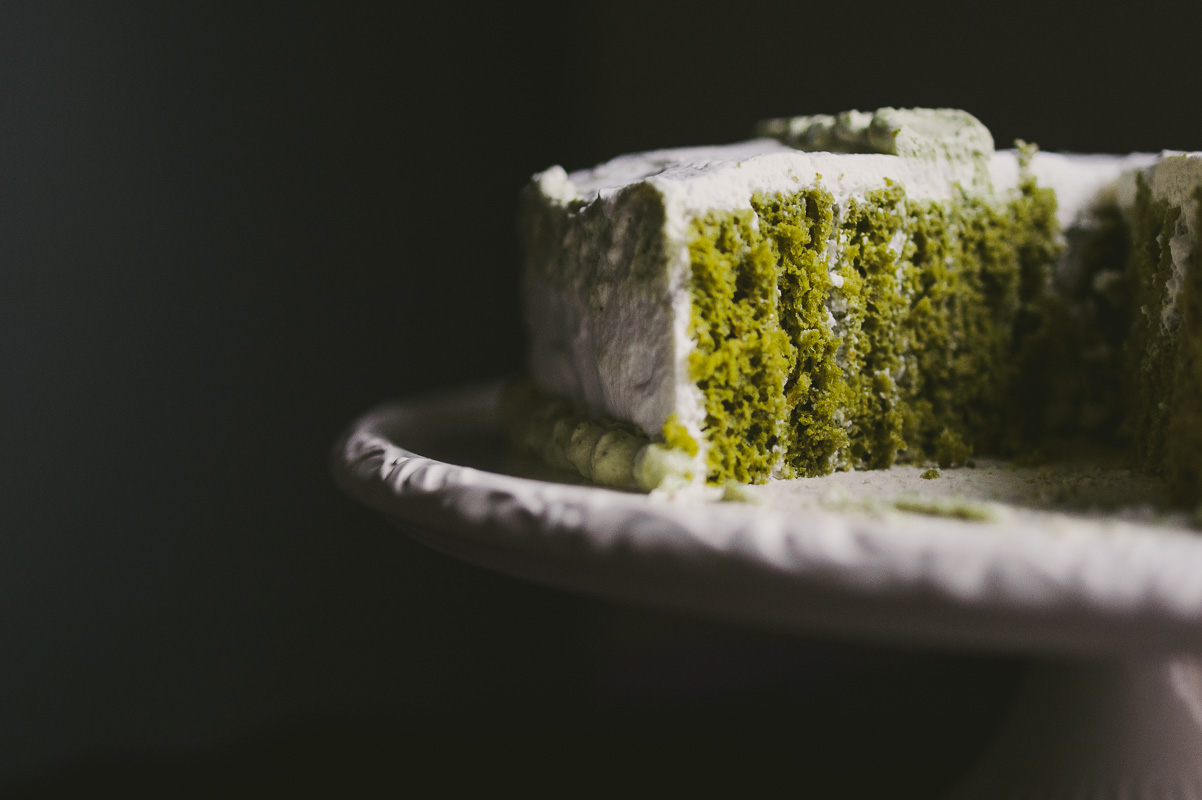
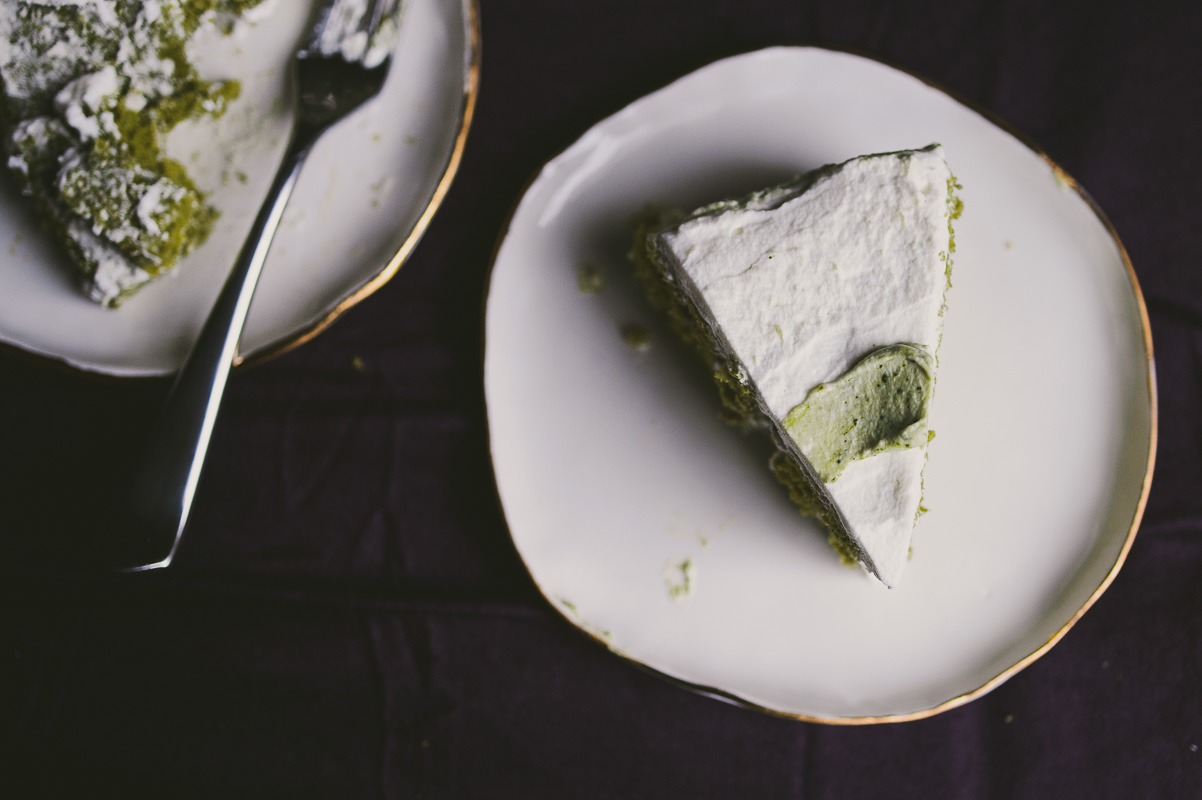
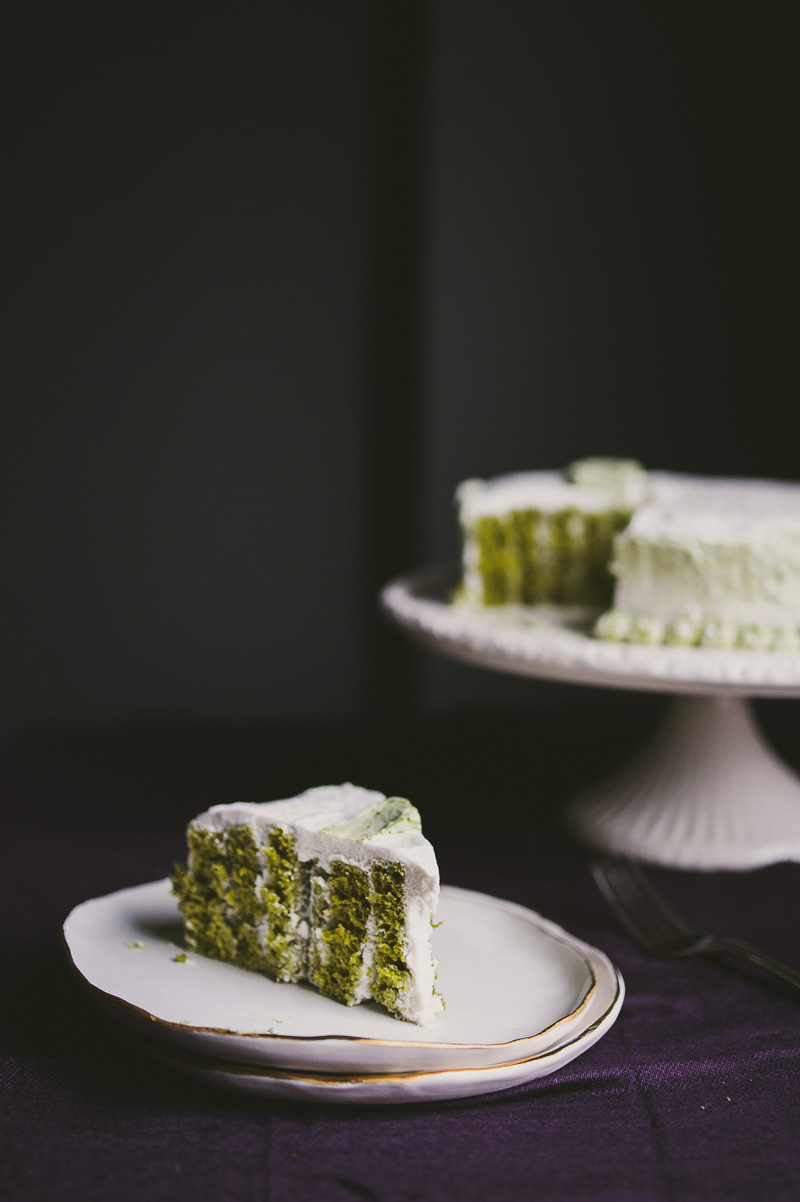
So I turn to the cake roll. Instead of the normal way to roll this cake, I rolled it vertically. It’s a fancy (ish) way to say that I cut it into strips and kept on rolling so it became a big wheel of cake and whipped cream. Then I just turned it on its side so that the swirls are facing up. I’m doing a horrible job of explaining this. One day, I will make a step by step photos post. I promise!! For now, hopefully these photos will help you get a sense of what it looks like.
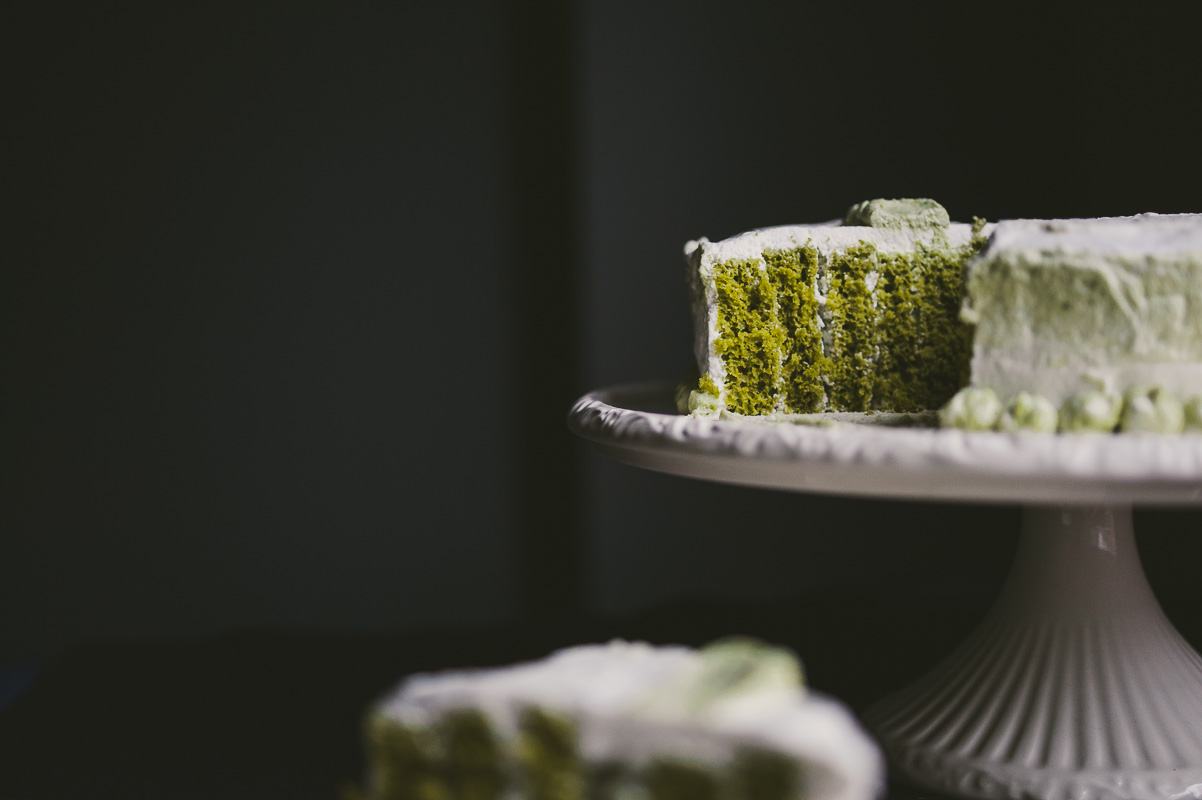

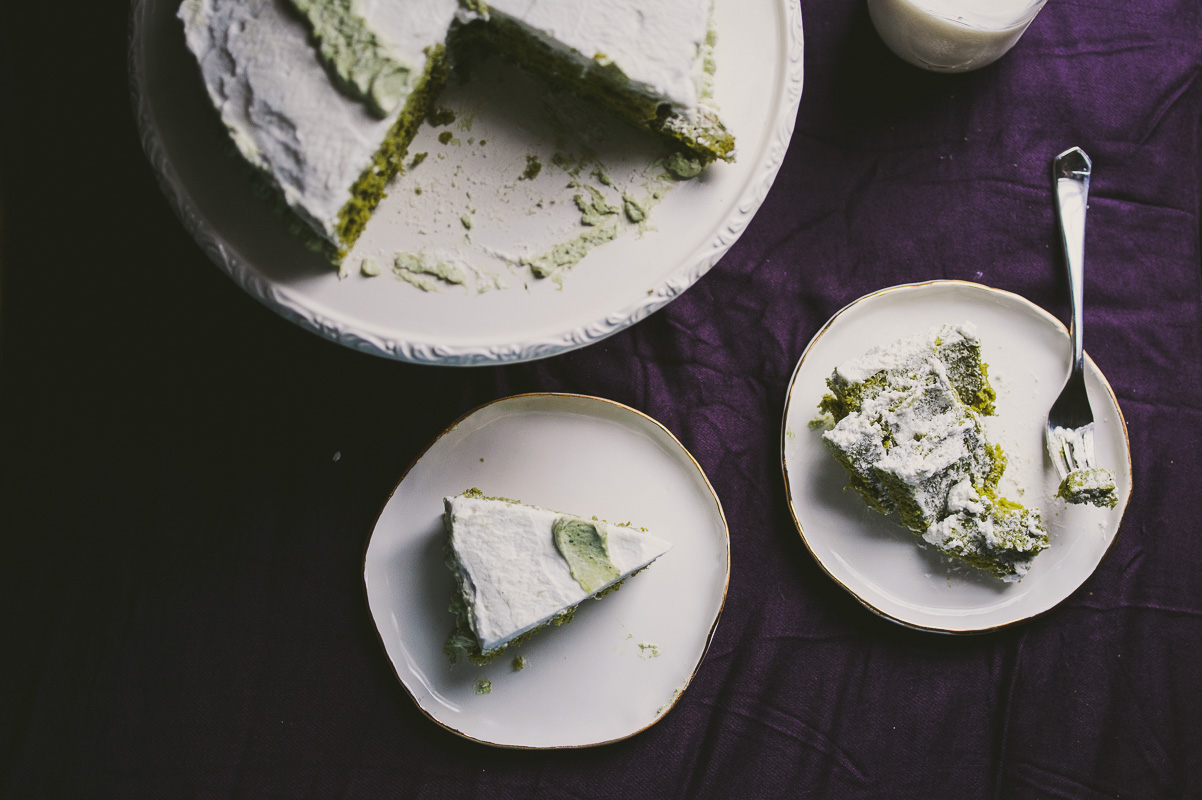
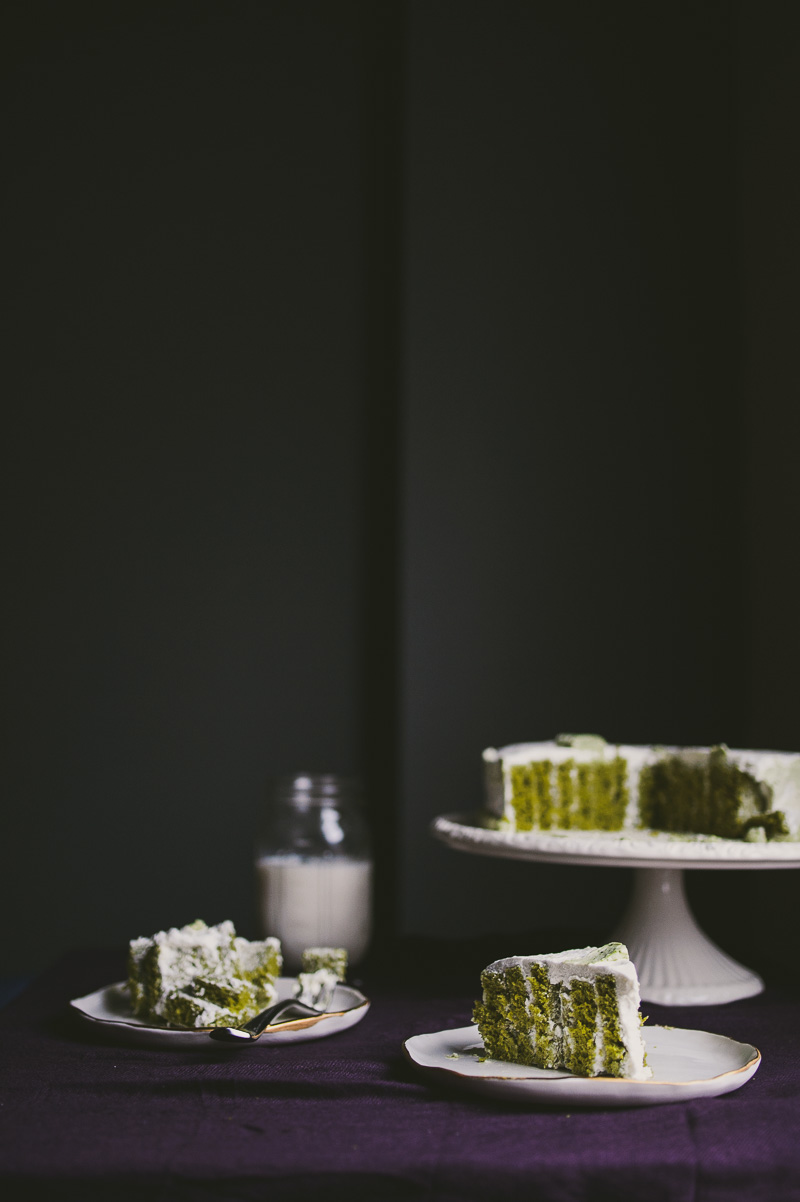
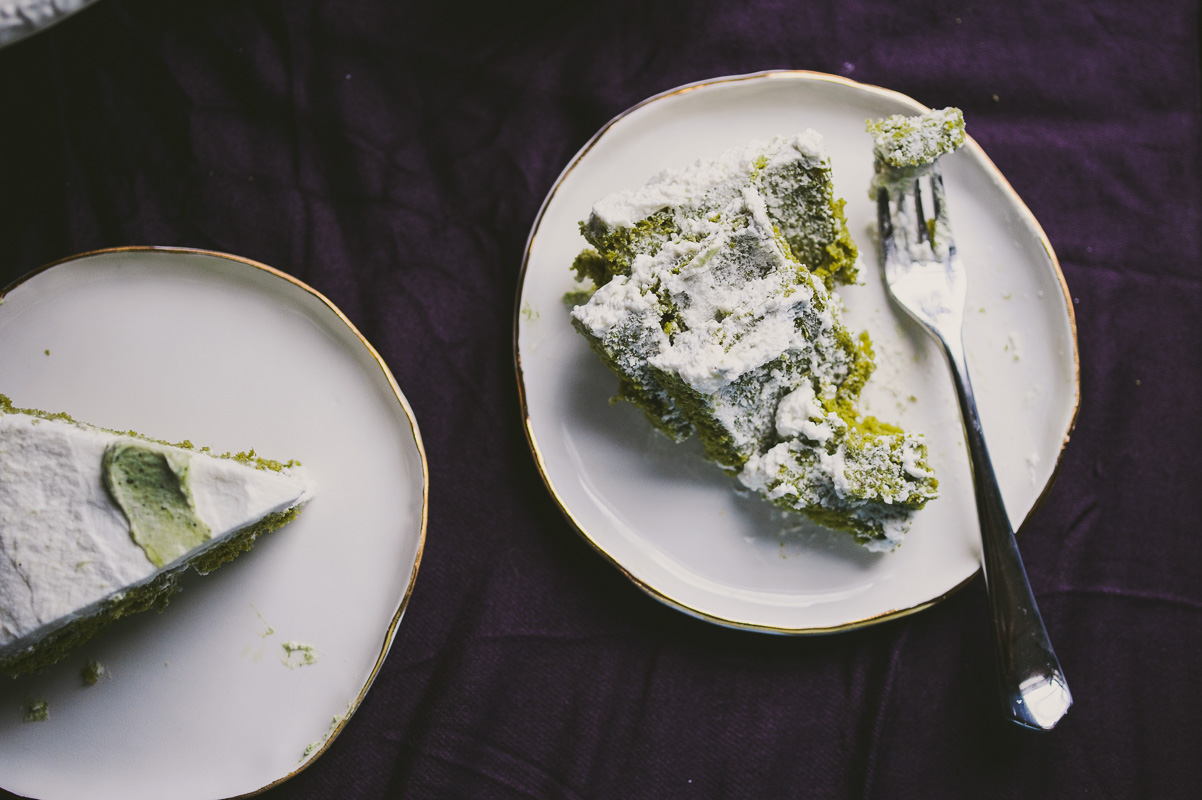
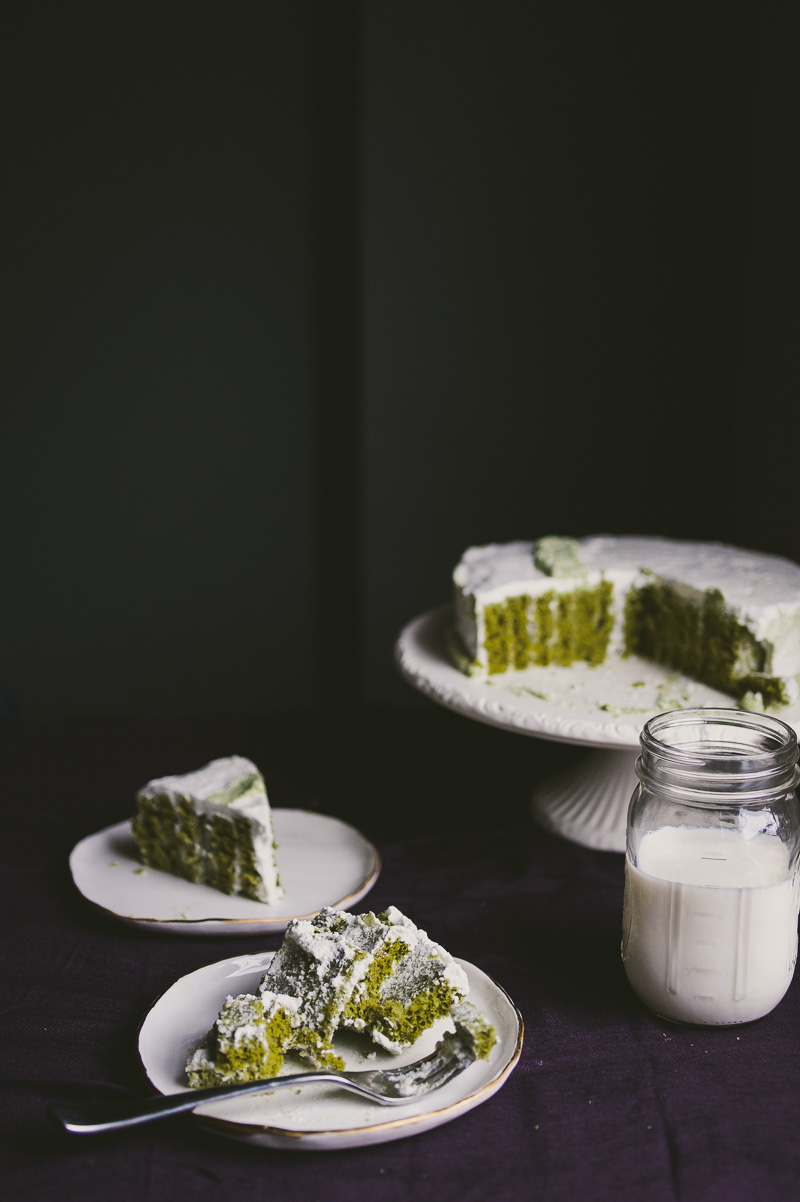
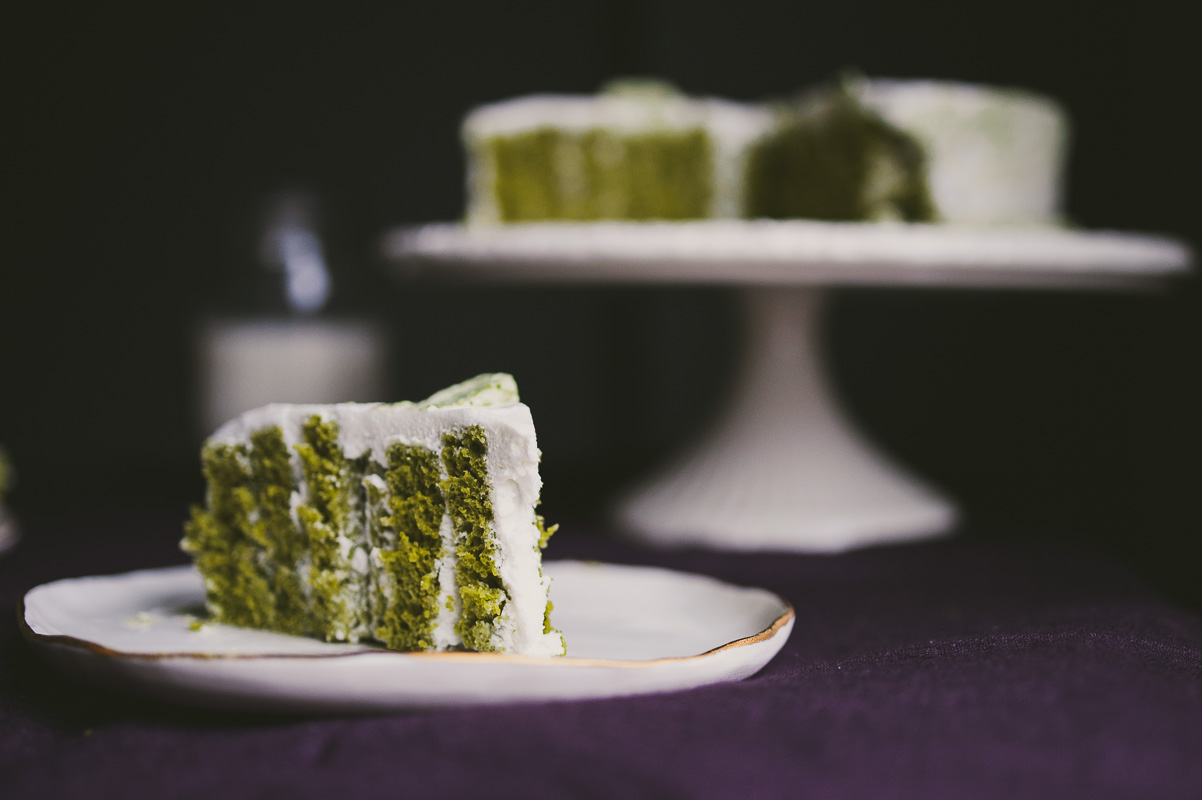
Do you see what I mean about the vertical cake roll? When you cut into the cake, instead of horizontal layers, you see veritcal ones! You can increase the amount of frosting if you want larger, clearer vertical frosting lines, but I kept it at a minimum because I personally prefer cake > frosting. For me, the frosting is a supplement, and I hate when the frosting overpowers the taste of the cake. For this particular one, the flavor is Japanese green tea – matcha. I’ve mentioned before (and I will again, no doubt) that matcha is one of my favorite flavors (remember the green tea ice cream?) I already have a running list of what other recipes to develop using matcha – so keep your eyes open for them!!
RECIPE: Matcha Vertical Cake Roll
*Japanese green tea cake roll with whipped cream frosting
Green tea cake
1 cup cake flour, sifted
1 tsp baking powder
pinch sea salt
2 tbsp heaping matcha tea powder
5 eggs, separated into yolks and whites
3/4 cup sugar (I used 1 tbs less, because I prefer a less sweet cake)
1/4 cup whole milk
Directions
1| Line a jelly roll pan or deep baking dish with parchment paper. Prepare a clean tea towel and sprinkle powdered sugar over it. Set aside. Preheat oven to 400F.
2| Sift together cake flour, baking powder, matcha powder, and salt. Set aside.
3| Whisk together egg yolks, sugar, and milk until pale yellow and thicker.
4| Whisk egg whites until foamy but stiff peaks form. I lift the beaters from the batter, and if the peaks stay in shape, then I deem it ready.
5| Combine: First, add flour mixture to yolk mixture and fold until combined. Then, add 1/3 of the egg whites and fold until just combined. Add another 1/3 and fold. Add the final 1/3 and fold. The texture should be light but not fluid like water. It should be thick.
6| Spread batter into prepared baking sheet.
7| Bake for 8-9 minutes, until toothpick test comes out clean.
8| Run a knife around the edges of the pan to loosen the cake. Invert onto your prepared tea towel. Gently remove parchment paper. Gently roll, starting from the shorter edge, to create a loose roll. This shapes the cake without causing any cracks. Cool completely to room temperature.
9| Make whipped cream filling:
Whipped Cream Frosting
1 cup heavy cream, cold
2 tbsp powdered sugar
1 tbsp matcha (optional – I separated my whipped cream and mixed in the matcha to one batch to create the ombre)
10| In a cold bowl, whip cream, sugar, and matcha if using, until stiff peaks form. Cover and chill in fridge.
11| When cake roll is at room temperature, gently unroll it. Spread whipped cream across the surface.
12| Assemble the cake: this is the tricky part. Please be patient with me as I try to explain the process.
- Using a knife, cut cake, with whipped cream, into 1-2″ strips lengthwise, hotdog style. Start from the short edge and run the knife all the way to the other short edge, and try to be as straight as possible. I like to put a ruler next to one side so that I can get equally wide strips.
- Start with one strip and roll. When you get the the end, simply pick it up and place it right on top of the edge of another strip. Roll the new strip over the roll you have already. Repeat with every strip. Soon, your roll will be big enough that a new strip won’t even cover one circumference of the roll.
- When you’ve reached the last roll, simply gently tip it over and place it on its circle-face on a plate. Now when you cut into it, you will have vertical stripes, a result of the numerous rolls you produced.
13| Finish by frosting a crumb coat – take a little bit of frosting and simply spread it, using an offset spatula, across the surface. Refrigerate for 30 minutes.
14| Spread rest of whipped cream frosting across surface.
15| Enjoy!


Lovely.
Thank you!
This matcha cake looks INCREDIBLE. Loving your beautiful photography of it too – pinned!
Aw thank you Thalia!! You are so sweet 🙂
So this is my first time visiting your blog – and it is stunning! This cake sounds so delicious, and it looks so beautiful. I have never had matcha, but this has inspired me to find out what it tastes like! Lovely, Betty!
Meg you are too kind!!! You’ve never had matcha?!!!! My jaw just dropped wide open – if you ever find yourself in Boston, please let me know and we’ll sit down with a cup of hot matcha and chat :). It’s a truly delicious, delicate tea. I love all kinds of tea – traditional Chinese teas, English teas, floral blends, you name it, but one of my favorites is matcha. It’s easy to prepare, its taste is unparalleled, and you can bake with it – easily!!! Thank you for stopping by :).
i’m loving all your matcha recipes, and this vertical cake is just beyond beautiful and unique. woah. so so blown away.
Now this Matcha Cake is simply stunning!
Aloha Betty. I happened upon this recipe about a week ago on Pintrest and thought, “Sounds like just the reason to break open my new container of matcha!” So, I baked this last night for my daughter’s and niece’s birthday cake. It turned out beautiful and so very tasty! Everyone was impressed by it. We could count 7 “layers”. Mahalo (thank you), Marci
Dear Marcia,
That’s wonderful!!! I always get so excited when someone tries out one of my recipes – and leaves feedback!! I’m so happy it turned out well – I was struggling to put the how-to’s into words, so it is a big relief to hear that someone has deciphered them :). I’d love to see a photo if you have one!
We def took pictures. It looked pretty much like yours but not as green colored. How do I add a pic?
I don’t think you can here – any chance you can post it to my Facebook page? https://www.facebook.com/lejusdorangeblog
I can’t wait to see it!!!!!!!
I add about 1/2 teaspoon of matcha to my Earl Green tea every morning. But I admit I can never part with enough of it to bake into a cake! I order mine directly from Japan and it seems too precious to use up too fast. I read through the assembly for the cake a few times before my slow old brain actually understood how it works. I’m so intrigued and I’m sure my kids will love this.
My first time visiting your blog and I’m in love! And you did a great job explaining the vertical strips. It looks great with all those gorgeous pictures and I can’t wait to try it! <3
Aww you are so sweet!!! Thank you 🙂 I have more step by step photos here: http://lejusdorangeblog.com/2015/02/14/black-sesame-vertical-cake-roll-matcha-mochi/
I made it – and it was gone in two days, I even didn’t have time to make the photos 🙂 though my cake was not that beautiful as yours. I will keep pracitising! It was the first time I was making the vertical cake, and I had some difficulties while cutting. But it came out great in the end.
Thank you. Your tip using the instructions from the poppyseed vertical cake came in very handy!
I made this last night for a group of friends! It wasn’t as pretty (and was probably done with more haste XD) but it tasted delicious. Will definitely keep on hand for the future. Many thanks for the great recipe!